NGINX + quiche 扩展补丁启用 HTTP/3
-
好!先让吾食一口乳蛋饼~

CloudFlare 已经为 CDN 服务可选启用 H3, 随后 quiche 推出可在编译安装时加入 NGINX 的扩展补丁。quiche 补丁仅适用于 Nginx 1.16.x 分支。目前 HTTP/3 还处于实验阶段,主流浏览器正式版没有支援。本论坛现已启用 HTTP/3 .
https://blog.cloudflare.com/experiment-with-http-3-using-nginx-and-quiche/
制作乳蛋饼是有要求的,构建 quiche 和 BoringSSL 需要 rust cargo Golang CMake 3.0 和 GCC (4.8+) . 这些版本过低会有错误。
系统为 Debian 9 ,以下操作在取得root权限后。
准备
加入软件版本相比稳定源要新的 backports 软件源,用来稍后安装 golang cmake.
用最顺手的编辑器打开/etc/apt/sources.list加入deb http://deb.debian.org/debian stretch-backports main保存后更新软件源apt update.安装 Golang 和 cmake,apt 时加入命令 -t stretch-backports 指定使用的源:
apt install golang cmake -t stretch-backports
完成后查看版本cmake -versiongo version.用 rustup 安装 Rust
curl --proto '=https' --tlsv1.2 -sSf https://sh.rustup.rs | sh,它会提示很多内容,如没什么要求直接按 1 或 enter.
rustc --versioncargo --version分别确认版本。添加变量
export PATH="$HOME/.cargo/bin:$PATH",我惯用 vi 编辑文件vi ~/.bash_profile,更新变量source ~/.bash_profile不添加会因为找不到命令在稍后编译 Nginx 时而报错 :
#cd /root/quiche && cargo build --release --no-default-features
/bin/sh: 1: cargo: not found
如果是第一次安装可能还需要
apt-get install dirmngr libgd2-xpm-dev build-essential libpcre3 libpcre3-dev zlib1g-dev unzip git构建 quiche 和 Nginx
获取 Quiche ,下载结束后为保证环境组件正常进行一遍测试:
git clone --recursive https://github.com/cloudflare/quiche
cd quiche
cargo build --examples
cargo test
一切正常开始编译安装 NGINX,不用先前编译 BoringSSL. NGINX 建议安装 1.16.1 ,1.16.0 有在 HTTP/2 下易受到攻击消耗过多 CPU 和内存的安全漏洞。为看起来直观我还是少打些 &&

下载 NGINX 解压缩后进入 NGINX 文件夹,添加 quiche 补丁到 NGINX ,注意 quiche 所在目录。
wget https://nginx.org/download/nginx-1.16.1.tar.gz
tar zxf nginx-1.16.1.tar.gz
cd nginx-1.16.1

patch -p01 < ../quiche/extras/nginx/nginx-1.16.patch
注意路径位置,参数以及用户权限信息,
--with-http_v3_module启动H3,用来替换 OpenSSL 的 boringssl 的路径with-openssl=/root/quiche/deps/boringssl,quiche 的位置--with-quiche=/root/quiche如 NGINX 正在运行,make install 前把 Nginx 关掉,make install 速度还是很快的,结束后启动 NGINX.
./configure  --prefix=/usr/local/nginx \
--sbin-path=/usr/local/sbin/nginx \
--conf-path=/etc/nginx/nginx.conf \
--error-log-path=/var/log/nginx/error.log \
--http-log-path=/var/log/nginx/access.log \
--lock-path=/run/lock/subsys/nginx \
--pid-path=/run/nginx.pid \
--user=nginx \
--group=nginx \
--without-mail_pop3_module \
--with-http_stub_status_module \
--with-http_mp4_module \
--with-http_gzip_static_module \
--with-http_gunzip_module \
--with-http_image_filter_module \
--with-http_addition_module \
--with-http_realip_module \
--with-file-aio \
--with-http_ssl_module \
--with-http_v2_module \
--with-http_v3_module \
--with-openssl=/root/quiche/deps/boringssl \
--with-quiche=/root/quiche

make
make install
编辑 .conf 文件加入 quic 和 TLSv1.3 一些新东西后重启 NGINX.
TLSv1 TLSv1.1 在2020年后将被各主流浏览器逐步禁用,这些协议在 2020 年 1 月后 Qualys SSL Labs 测验安全等级将显示为 B.# 启用 QUIC 和 HTTP/3. listen 443 quic reuseport; # 启用 HTTP/2 (optional). listen 443 ssl http2; # 启用全部 TLS (TLSv1.3 对于 QUIC 是必须的). ssl_protocols TLSv1 TLSv1.1 TLSv1.2 TLSv1.3; # 添加 alt-svc 标头 add_header alt-svc 'h3-23=":443"; ma=86400'; ssl_ciphers TLS13-AES-256-GCM-SHA384:TLS13-CHACHA20-POLY1305-SHA256:TLS13-AES-128-GCM-SHA256:TLS13-AES-128-CCM-8-SHA256:TLS13-AES-128-CCM-SHA256:EECDH+CHACHA20:EECDH+CHACHA20-draft:EECDH+ECDSA+AES128:EECDH+aRSA+AES128:RSA+AES128:EECDH+ECDSA+AES256:EECDH+aRSA+AES256:RSA+AES256;测试 https/3
重启没有错误?试试 http/3 有没正常运作吧!
curl 是可以,就是配置H3有点麻烦浪费时间... 首先最简单用 HTTP3check 测试,网站给出 QUIC 和 H3 之状态。
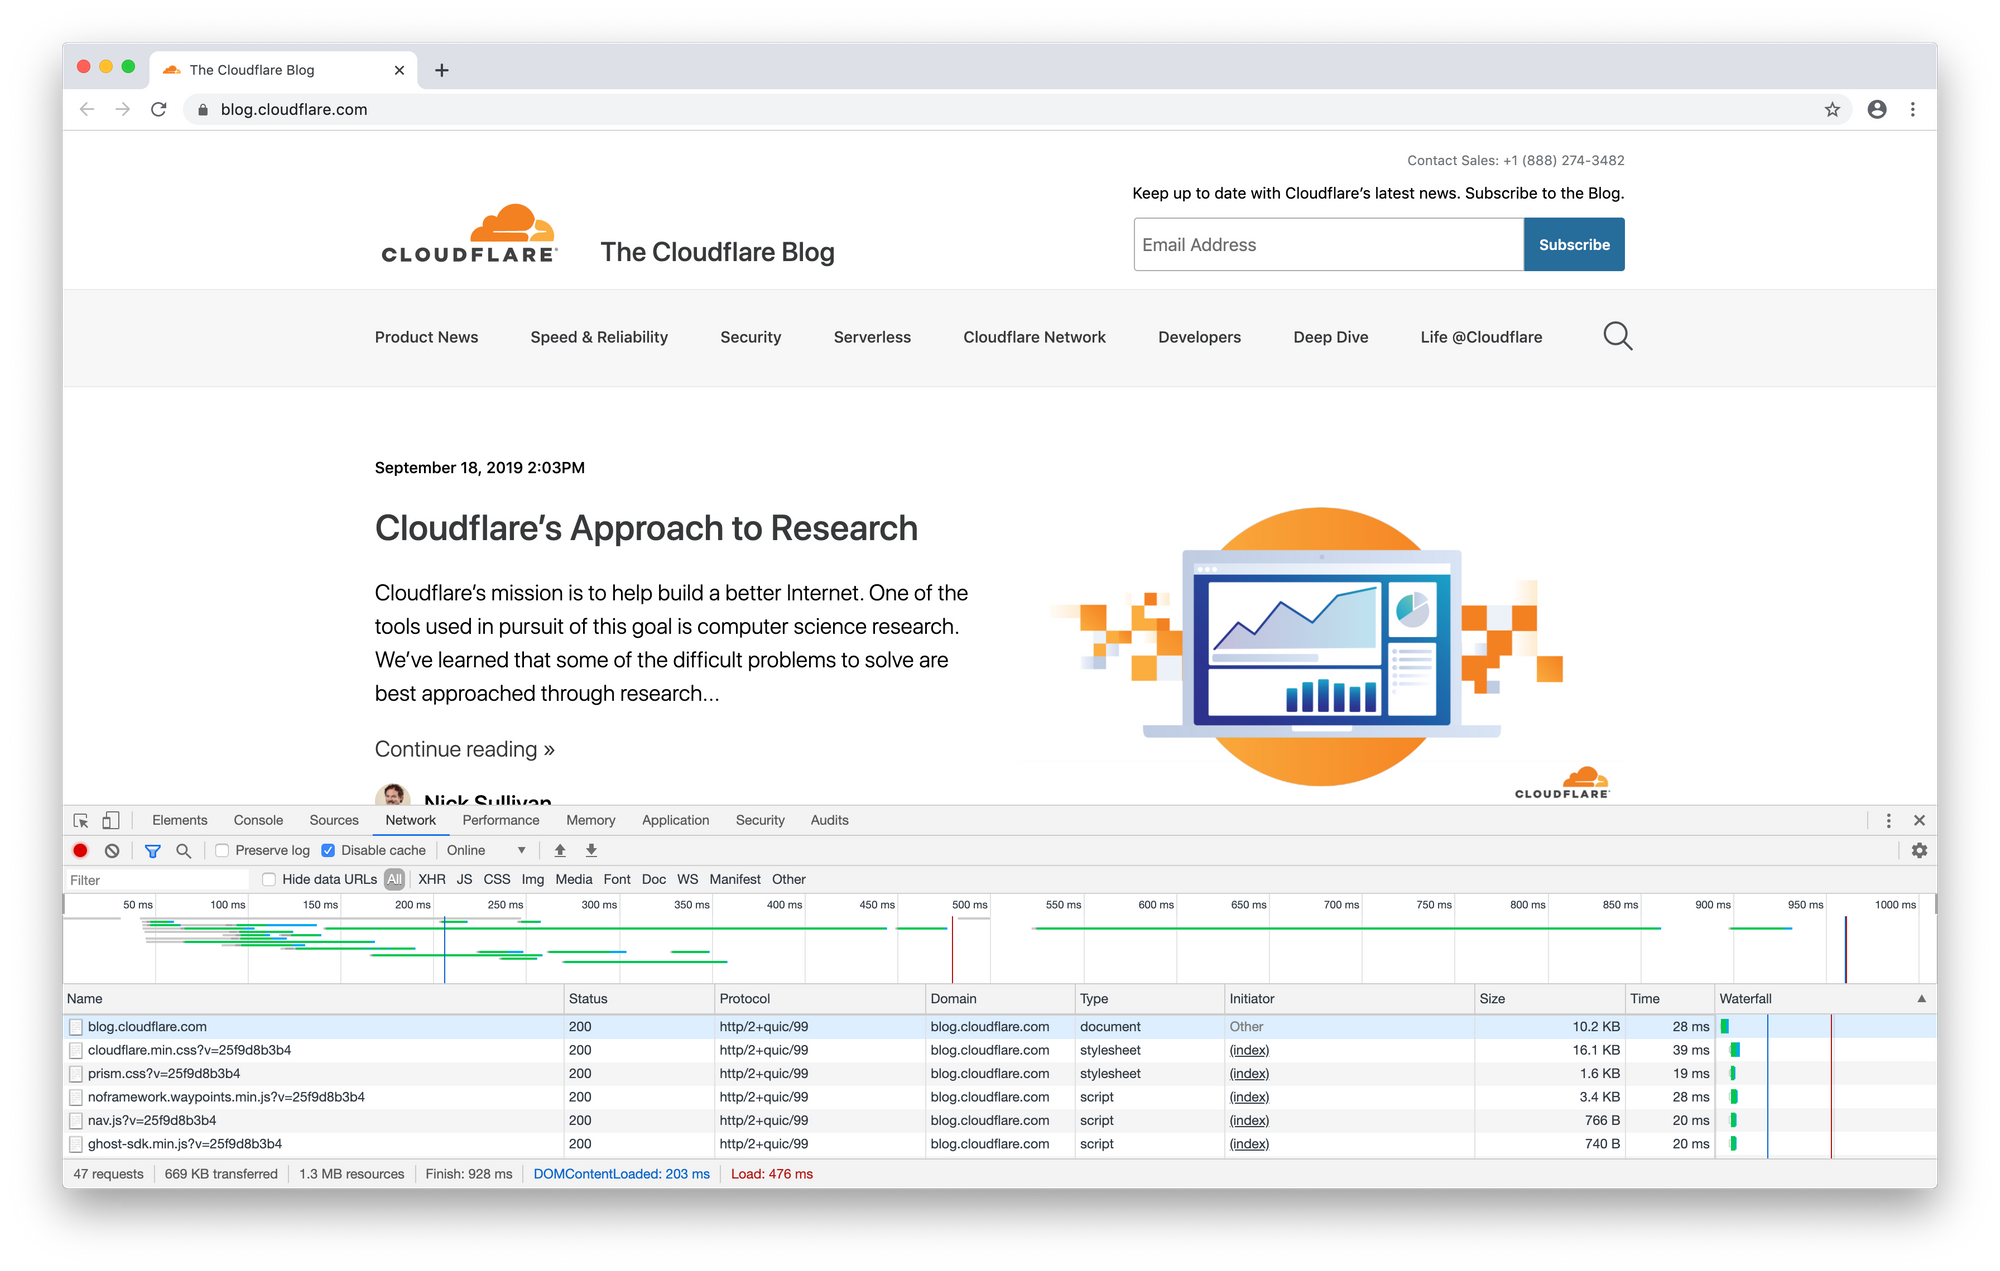
运行 Chrome Canary 之前在快捷方式添加--enable-quic和--quic-version=h3-23,打开 "检查" 切换到 Network,右键标签添加 "Protocol" ,现在h3处于测试状态不会直接显示 http/3 而是 http/2+quic/99 .最后 Qualys SSL Labs 测试网站加密安全评级和各系统浏览器的访问情况。
如以上测试 HTTP/3 都无差访问正常,就是已成功启用咯│・ω・`)
-
您好,按照您的步骤我安装编译了nginx,整个过程很顺利。但是不知道如何测试是否开启http3,我用的是debian系统,您上述的chrome canary并不能在debian中安装,所以请问怎么能在浏览器中检测是否开启了http3
-
您好,按照您的步骤我安装编译了nginx,整个过程很顺利。但是不知道如何测试是否开启http3,我用的是debian系统,您上述的chrome canary并不能在debian中安装,所以请问怎么能在浏览器中检测是否开启了http3
您好,试试 HTTP3check ,它能在线测试。
也可以用 Chrome Canary (金丝雀)浏览器...
运行 Chrome Canary ,在快捷方式添加 --enable-quic 和 --quic-version=h3-23 ,打开 "检查" 切换到 Network,右键标签添加 "Protocol" ,现在h3处于测试状态不会直接显示 http/3 而是 http/2+quic/99 .
-
我现在取消了论坛的 HTTP/3 支持,等待nginx正式版,而且现在也没什么浏览器支持这个